Tuesday, September 13, 2011

Lamp Love

I finally did something with all of the not-so-pretty brassy-ness that was going on in my living room.
I knew when I bought these two brass lamps at my local Salvation Army that I would paint them one day. This Sassy Brassy Pair have been sitting in my living room in all their shiny glory for a few months now!

I first thought I would go with a blue after seeing this lamp that I had pinned.
Z Gallerie
But after turning this lamp on and off every day at work, I fell in love with the green! (I absolutely love green everything).
This was a wooden lamp that I had spray painted a few months back. I decided I would spray paint these brass lamps the same color- RustOleum Painter's Touch in Eden.
First I taped off the light bulb socket and the cord with painter's tape. I started by priming with a gray primer spray paint to help all of the paint stick to the brass lamp.
I sprayed two thin and even coats of primer and about three thin and even coats of the green spray paint.(My pictures are stuck in my camera and I can't find the cord...) I added white drum shades from Target to finish it off. I may add a fabric to the shades later. I haven't decided yet... 
Now just to decide on the color of this soon-to-be wine bar...
Can you tell what color I am leaning towards? (It is reading a little brighter in this light?)

Hopefully this next step will be done soon! What do you think of the peacock color?
Tip Junkie handmade projectsThe Shabby Nest

Friday, September 9, 2011

Pieces of a Pretty Cross

My sister celebrated the big 2-2 this week about a month ago (I got a little busy!). I decided to make her a mosaic cross for her birthday (I have apologized over and over for not having it to her yet!). Sorry about the long post- there were a lot of steps!


I learned how to make the crosses earlier this year and have enjoyed giving them as gifts and keeping a couple for myself. They are easy and fun to make and also are not too hard on your wallet. I made three for Mother's Day and they were all a hit!
My sister had given me a broken glass bowl that she had had for a while and said I could use it on a cross. I thought that would make a great birthday gift!

To make the form of the cross you will need:
3 pieces of rectangular floral foam 
1 small dowel rod
knife and cutting board
hot glue gun

Take one piece of floral foam and cut it in half.
Keep one half for the project and put the other aside for your next cross project! I like to trim just a little off the newly cut half just so the cross looks more proportionate.
Next put the dowel rod in the middle of all three pieces and add a little hot glue for some extra support.


Now comes the fun part! I have shopped at thrift stores, garage sales and even T.J. Maxx (I make sure they are on clearance) to get colorful plates, bowls, and mugs to get just the look I am going for. I have a little collection going now after making 5 crosses. 
Collect all of the plates and bowls that you want to break. There is a "special ceramic breaker" tool that is sold at craft stores but I find they a hammer works just as great and it is a little more therapeutic! : ) and safety glasses are a must! (Ok... I know these aren't "safety" but they work!) Then SMASH AWAY!! 
This part is so fun! But very sharp so be careful! 

Next layout all of your pieces and just play around with the look on the cross until you get something you like. I like to find some type of "focal point" in the center of the cross or some kind of pattern over the cross. This one started with the blue and brown bowl that my sister gave me so I wanted to use it as the focal point and went from there.
Once the focal point is found, it is like a puzzle. Just find the the few colors you want to use (I didn't use all of these colors- I just needed them all out to play with so I could find the look I was going for) and place them until the cross is covered. 
When you figure out the pattern, you will hot glue the pieces in place.
Now it is time to get messy!!

I chose a sanded grout in a biscuit color. Mix the grout with water until it is a pancake batter consistency. I would rather have it more wet or runny than too think. You have more time to work with it that way. 
Using your hands, spread the grout all over the top and the sides. You don't have to worry about getting the grout on your mosaic pieces. We'll get that off later! 
Taking a wet paper towel or sponge, gently rub off the grout from each piece. 

Let this dry completely, maybe a couple of hours? Then flip over and add a layer of grout to the back and touch up the sides. After the back dries, clean up the "grout dust" and leftover chunks by scraping of chunks and then wiping down all of the mosaic pieces with a water vinegar mixture. This will wash the dust off and keep it off! 
 These crosses look heavy but are actually light weight! To hang, I just place a small nail on either side under the "arms" of the cross. 
 And my sister loves it!!!
Sorry again for the long post but I hope you enjoyed it! Let me know if you decide to make a mosaic cross or mosaic anything!
Tip Junkie handmade projects

Tuesday, September 6, 2011

Sunburst Mirror

Sunburst Mirrors are popping up everywhere and there are lots of easy DIY versions! I have been wanting to make one for a while so I starting "pinning" inspiration photos and taking a little bit of each inspiration to make my version.

1. This retro little guy was done by Danielle Oakey at Danielle Oakey Interiors. I love that she framed her round mirror with an embroidery hoop. I had a bought a flat, candle holder mirror from Hobby Lobby but had been looking for the "frame". This option was perfect because I had just bought one at a garage sale!

2. This blinging beauty is from Meredith Heard at Welcome to Heardmont. I love how she used barbecue skewers (which are cheap and that's great!) and the metallic spray paint! I love some bling bling!

3. The last inspiration photo came from Isabella & Max Rooms.  The twigs are similar to the skewers that Meredith used but seems to be a bit more random with the different lengths of the twigs used around the mirror.

So on to my Sunburst Mirror.
For the start of this project I used:
1- 10" embroidery hoop
1- 10" round mirror
2 sizes of skewers (10" and 12")
Template from Stephanie at Under the Table and Dreaming (another great DIY Sunburst Mirror)
1- 10" wooden disc
hot glue (lots and lots of hot glue)

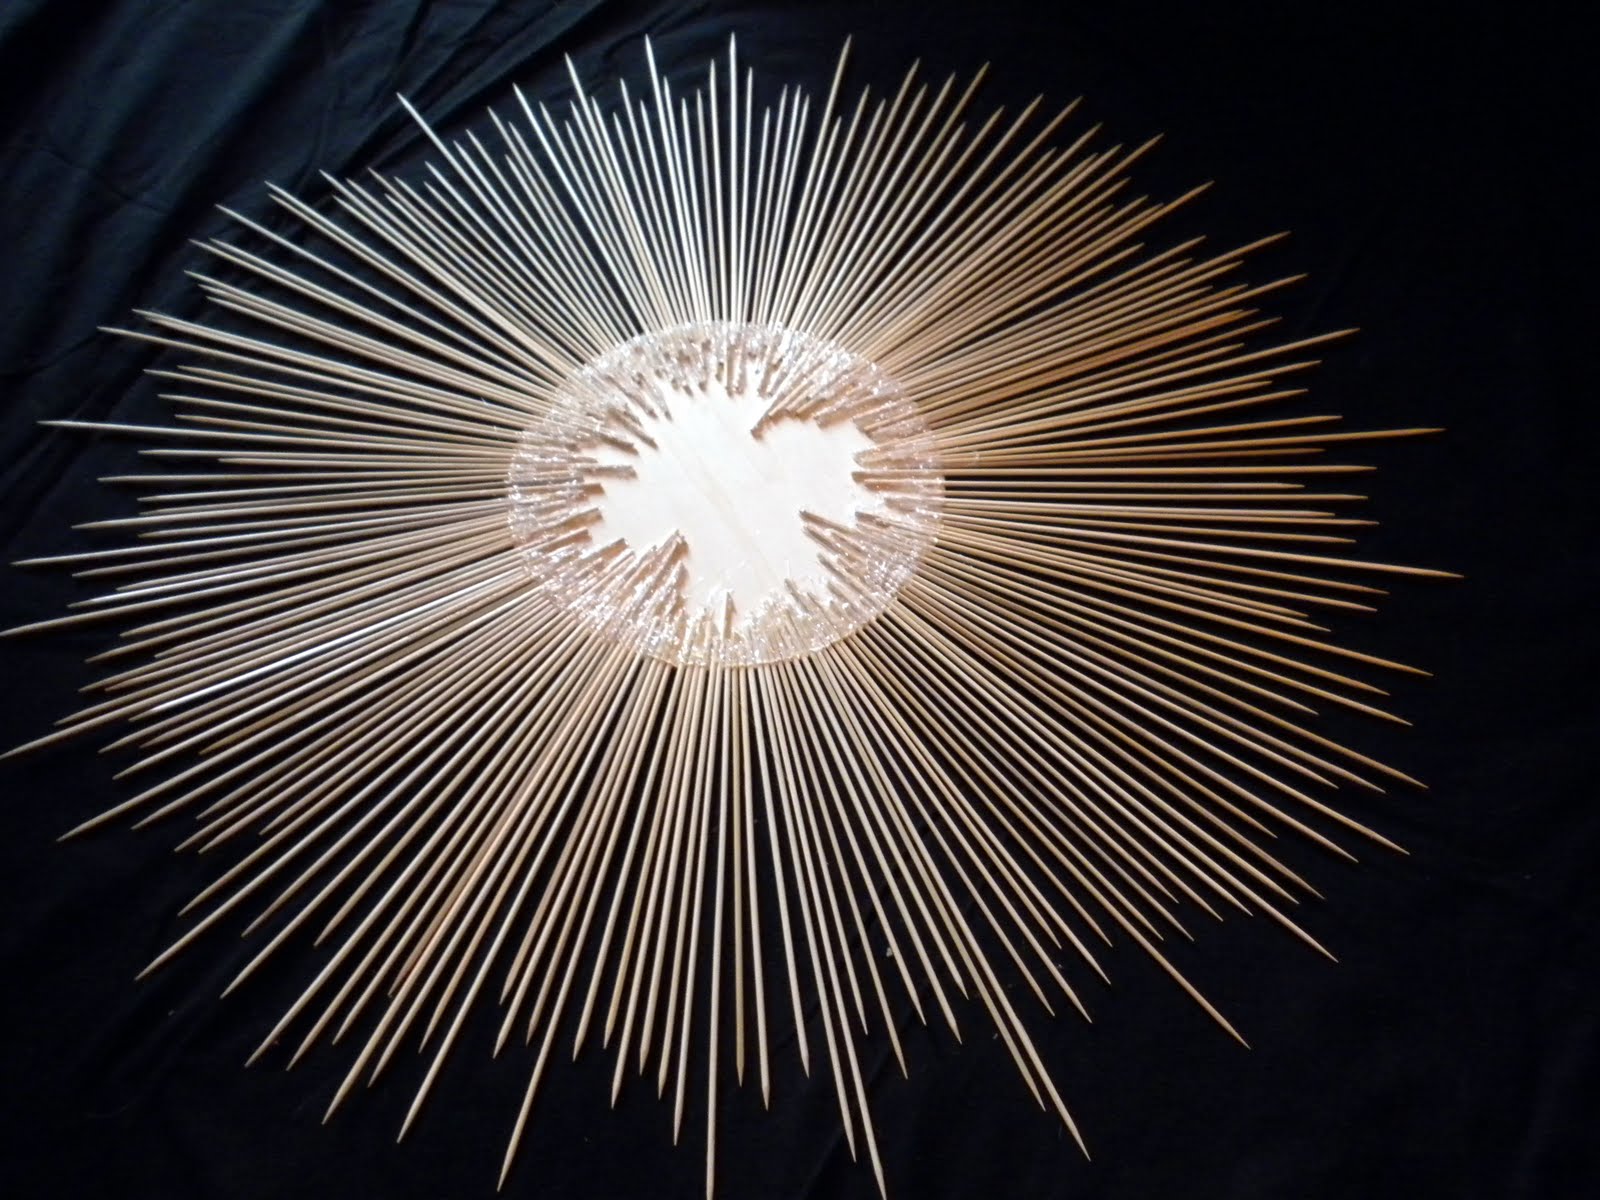
I started by placing my template down on my round disc and marking little lines around the circle. Then I placed and hot glued a skewer on each line a random heights. I then filled in the sections randomly (I didn't want to have to think too much and I liked the random pattern).

Look at all that hot glue!
Holy Hot Glue! 
After this step was completed, I spraypainted the front and back of the sunburst and also the embroidery hoop.
I went with silver- still bling blingin' like Meredith's but a little different.
The embroidery hoop had a few ugly spots that stood out much more after I spraypainted it. I decided to outline the hoop in a string of costume jewelry pearls that I also spraypainted.

I then attached a picture hanging hook on the back and the mirror and hoop on the front with a little E-6000 (sounds like some fancy robot or vacuum instead of glue).

And Voila! 


I love my mirror! Thanks Meredith, Danielle, Stephanie and Janell for all of the inspiration!
Young House Love

Pin-Head Project Party   
Bower Power
Tip Junkie handmade projectsVintage Revivals: Krylon Glitter Blast Link Party
Lemon Tree Creations Pinterest Party
Related Posts Plugin for WordPress, Blogger...
09 10 11 12
Blogging tips